Unlike every other scenario of Midway, the Battle of Santa Cruz has no geographic objective - no invasion, no "Leyte Gulf reduction." Victory is obtained only by doing more damage to the enemy fleet and aircraft than he does to you. Historically, the commanders of both sides sought to win a decisive engagement at sea so as to gain naval supremacy in the vicinity of Guadalcanal - the Japanese for purposes of staging a counter-invasion, and the Americans for purposes of eliminating such a threat and breaking the stalemate in the Solomons Campaign. The victory conditions of the scenario reflect those objectives: To win, a player must accumulate more than 50 victory points as well as exceed his opponent's score.
A side-by-side comparison of the orders of battle illustrates the nature of the match-up:
Unit type Japanese American
CV 3 2 Aircraft carrier
CVE 1 0 Escort carrier
BB 4 2 Battleship
CA 9 4 Heavy cruiser
CL 3 5 Light cruiser
F 65 66 Fighter
D 37 30 Dive bomber
T 39 18 Torpedo bomber
B 11 66 Land-based bomber
The Japanese have nine airbases largely concentrated in the northwest corner of the Coral Sea map. The Americans have four scattered widely across the map, plus two - Australia and New Caledonia - that are off-map altogether. The Japanese fleet starts anywhere in the top 45% of the map; the Americans start anywhere along the eastern edge or the eastern third of the southern edge. If Japanese ships are spotted in the southern 40% of the board, the Americans get 23 reinforcement aircraft. If American ships are spotted in the northern 45%, the Japanese get 25 reinforcement aircraft. So each fleet is motivated to remain in its respective "safe area," which still allows plenty of overlap and aircraft range to find and damage each other.
October 25, 1942
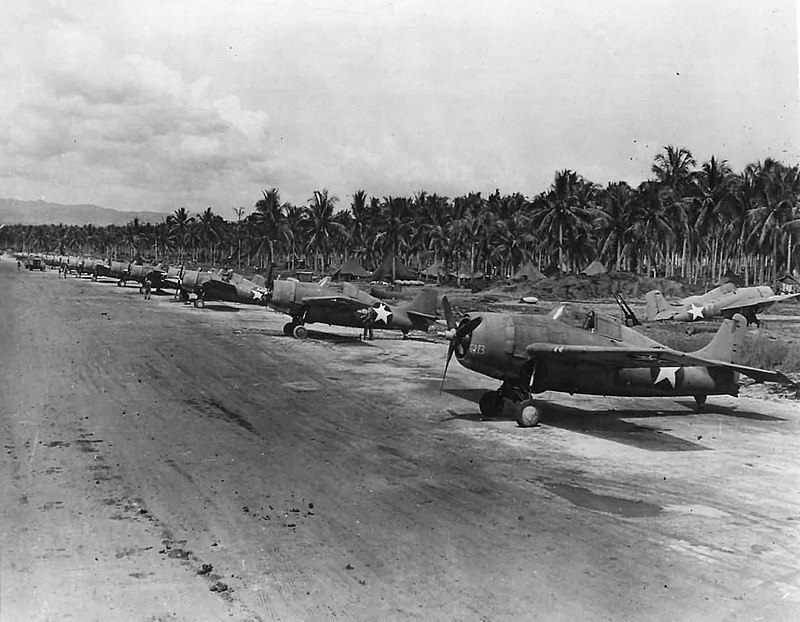 |
| F-4F Wildcats on Guadalcanal. USN photo. Public domain |
At 0700, while the American and Japanese fleets evaded detection, thirty B-17s took off from Port Moresby on an unescorted strike on Rabaul. This attack was, in hindsight, reckless, as two-thirds of the American bombers were lost to CAP and AA defenses. The bombers managed to shoot down three Japanese fighters and destroy five bombers on the ground, but the airbase remained operational.
For most of the middle of the day, the Japanese maintained intermittent track of the American fleet, which loitered about 140 nm south of San Cristobal into the afternoon. The Americans never found the Japanese for most of the first day. (I found out afterwards that the Imperial fleet spent much of the day about 50 nm west of Bougainville Island, out of sight of coastal watchers but never, as it happened, in view of any of the PBY Catalina searches.)
At 1500, the ten surviving B-17s at Port Moresby - now fully fueled and armed - took off for the Japanese airbase at Buin at the southern end of Bougainville Island. They were joined by seven B-17s from Espiritu Santo and 17 escorting fighters from Henderson Field. The escorts shot down the small CAP of four Zeroes they found over Buin, and the bombers destroyed seven aircraft on the ground while losing three to AA defenses. The fighters continued on to Gili-Gili while the bombers landed at Henderson on fumes.
Meanwhile, the few remaining Japanese bombers attacked Henderson but found thirteen F-4F Wildcats on CAP, which made short work of the attackers with no losses to the Americans in the air or on the ground.
 |
| "Battle of Santa Cruz" as played by Frank Hodge and Paul Owen, 13 March 2013 |
Finally, at 1700, American searches paid off, spotting the Japanese fleet about 70 nm southwest of Ranongga Island (about 150 nm south of Bougainville), within range of the Enterprise and Hornet air wings. This was the moment the Americans were waiting for. In the last remaining daylight hours, planes from both carriers took off on strike missions seeking to damage the other's fleet.
Japanese fighters engaged the F-4F defenders over the American fleet and traded blows, each losing three units. Japanese dive and torpedo bombers focused their efforts on the Enterprise, which sustained only minor damage, while AA fire took down four dive bombers and four torpedo bombers.
Meanwhile, the American strike force - augmented by aircraft from Henderson - found a substantial CAP of fighters from nearby Japanese airfields defending the fleet, and ten out of eleven American escorting fighters were shot down. No Japanese fighters peeled off to defend the fleet, however, so every American dive and torpedo bomber in the Coral Sea theater descended on the Zuikaku and the nearby Chikuma. Japanese gunners concentrated fire to defend the carrier and left the heavy cruiser to its fate. American planes sank the Chikuma in short order with no losses, and even with heavy AA protection shooting down two torpedo bombers and three dive bombers, Zuikaku suffered 60% damage.
A coordinated B-17 strike on the Japanese fleet from New Caledonia was planned but inexplicably aborted. (I'd actually written down the air operation but forgotten to announce the attack until after the turn was over, so we treated it as aborted. Chalk it up to a failure of command and control .)
October 26, 1942
Under cover of night, both sides repaired, refueled, and re-armed aircraft in anticipation of renewed airstrikes the following morning. And indeed, the fleets spotted each other almost at first light. The Japanese had turned northwest and made for passage between Bougainville and Latangai Islands, while the Americans had pursued northwest as well to make sure to remain in range for a follow-up strike.
The Americans planned a joint strike with 14 bombers from Henderson, 15 escorting fighters from Gili-Gili, and all the dive and torpedo bombers from Enterprise and Hornet to follow after the bombers had completed their run. The bad news was that the fighter escort was insufficient to protect the bombers; the Americans lost six fighters and all 14 bombers to just three Japanese fighters shot down. The good news was that since the fighters were engaged with the B-17s, the carrier planes again struck the Japanese fleet without facing Zeroes on CAP. This time they concentrated all fire on the Zuikaku, which could not avoid destruction and was sunk. The Americans lost six torpedo bombers and two dive bombers in that strike.
Frank decided that there was no winning this battle for the Japanese, so he opted to turn north and retire from the battle. We shook hands and declared the game a draw (since neither of us had a chance of reaching the 50-VP minimum to win) with the following score:
Frank H., IJN
22 2/3 aircraft
22 2/3 total
Paul O., USN
10 Zuikaku
4 Chikuma
17 2/3 aircraft
31 2/3 total
This game seemed to reflect the quality-over-quantity nature of the American fleet. I was able to concentrate considerable AA fire to protect the carriers even in the absence of CAP fighters to augment their defenses. Frank, on the other hand, could not prevent me from concentrating sufficient air power to inflict enough hits to sink two ships over two battles. He seemed to have me beat in the fighter battle game, and I definitely felt that I misused my bombers on more than one occasion. We both agreed that we are still trying to figure out the most effective way to use bombers in this game.
The next time we meet will be in the spring, when we play the final scenario in the "Pacific Theatre via Midway" variant, Guadalcanal.
Are there actual separate maps for all these scenarios, or are you "building a map" using counters on a blank Midway map?
ReplyDeleteDo you think that for some of these scenarios, one side should start with a few VPs to effect play balance?
All the scenarios use the same map of the northern Coral Sea, Solomons Islands, and vicinity, which first appeared in The General and which Frank later obtained, I think, from Noble Knight.
ReplyDeleteBoardgamegeek has a picture of the map.