 |
| USS Saratoga USN photo |
Wednesday 3 June 1942
One lesson I had learned from our previous engagement was that if the Japanese hang back on the western edge of the board to await the 1500 June 3 reinforcements (four heavy cruisers), then the Americans have to move out very aggressively to be able to achieve an airstrike before nightfall. I gave up on my usual cagey search board tactics on the first day and had most of the carrier group move out west at flank speed to accomplish that first strike. Because I had so many carriers, however, I held Saratoga and a couple of escorts back, northeast of the main group, far enough to avoid a Japanese strike but close enough to provide Combat Air Patrol (CAP) cover for the main fleet. I staged all dive and torpedo bombers from Saratoga forward with the main fleet and replaced them with fighters, so that Saratoga was nothing but a big Wildcat farm of F-4F's to provide CAP. The remaining fighters with the main carrier group would provide escort for the dive and torpedo bomber strike group.
Sure enough, my search patterns established that the main Japanese carrier strike force was hugging the west edge of the board, awaiting the arrival of the cruiser escort group. Several Japanese light cruisers advanced east on picket duty, but at 1300 a few American planes caught the Nagara all alone and made short work of her.
| A6M2 Zeroes on the flight deck of the Akagi Government of Japan. Public domain |
Thursday 4 June 1942
The second day of the battle was perhaps the most tense as the two fleets sought each other out and the Japanese task force assembled itself to prepare for the invasion. Because I had Yorktown and Tennessee arriving that morning, I'd pulled my fleet back east overnight to effect a rendezvous later that morning. The Japanese patrols, however, had assumed that I'd press the attack the following morning and consistently searched too far west of my position.
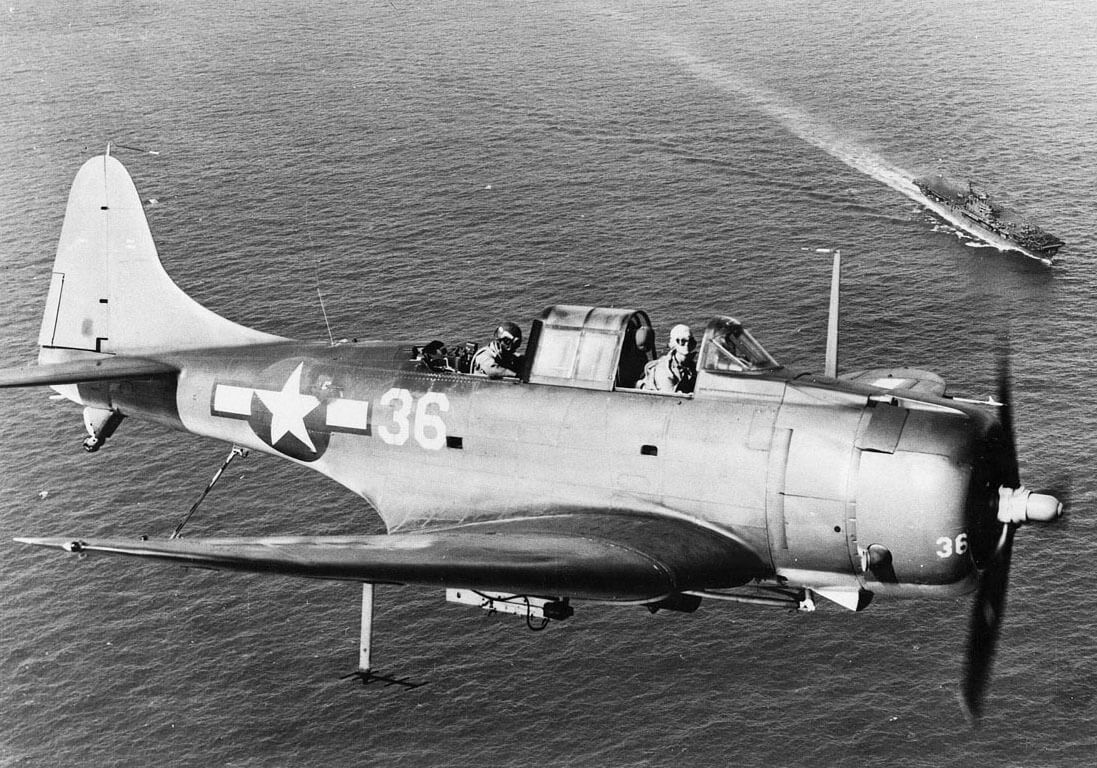
 | |
| SBD Dauntless dive bomber USN photo |
A lone submarine did discover Saratoga, but the report was sufficiently vague that the Japanese command couldn't be sure whether its position represented the main American fleet or the late reinforcements.
At 1700, Saratoga sent all fighters in CAP over the main task force, in case of a Japanese reprisal, but none came before nightfall.
Friday 5 June 1942
The third day would turn out to be the climactic one of the battle. The sun rose to find the Japanese invasion fleet dangerously close to the main American carrier force, just over the horizon. An immediate attack from both the American carriers and the detachment on Midway Island sank the heavy cruiser Chikuma and two more transports, but a fifth transport was unaccounted for. The Japanese carrier decks were again empty, and the reason became apparent. The island of Midway was meanwhile under attack by an overwhelming number of Japanese bombers, and in less than two hours, the defenses of Midway were obliterated, the airfield useless. The door was open for that last Japanese transport to take the island if the fleet couldn't stop her.
.jpg) |
| Hiryu burning at Battle of Midway USN photo |
At this point it was clear that the fifth transport would not be sunk and that Midway would fall. Under the circumstances, it was time for the American fleet to withdraw and declare victory by virtue of the damage done to the Japanese fleet. Saratoga launched a final CAP over the main force; once the last Wildcat had left her deck, she turned northeast and put as much water as possible between herself and the Japanese. The main American task force, meanwhile, tried to escape to the southwest, but the Japanese put out a major search effort and found the Americans just in time to send one last strike before they got away. When it was over, Hornet was on her way to the bottom, and both Yorktown and Enterprise were damaged.
Epilogue
We determined that with the U.S. Navy relinquishing the seas to the Empire of Japan, the Island of Midway would have fallen at 0900 on Saturday 6 June. The score then broke out as follows:
Frank H., IJN
22 American variable order of battle chit draw
7 Independence
10 Hornet
15 Invasion of Midway
54 Total
Paul O., USN
20 Japanese variable order of battle chit draw
10 Akagi
8 Hiryu
4 Atago
3 Chikuma
2 Nagara
2 Transport AP-1
2 Transport AP-2
2 Transport AP-3
2 Transport AP-4
1 Submarine
11 Delay in invasion of Midway
67 Total
This game was the longest and perhaps the most tense game of Midway we've ever played. It was remarkable for the fact that so few airstrikes occurred on the second day (June 4). The difference in my success was very likely the fact that I found Frank's fleet much more often than he found mine, and so I had a couple of unanswered attacks that came away with several sunken ships. Eventually it got to the point where even the invasion of Midway couldn't offset the losses.
No comments:
Post a Comment